Make These Super Easy Pen Pan Flutes for a great lesson about musical instruments
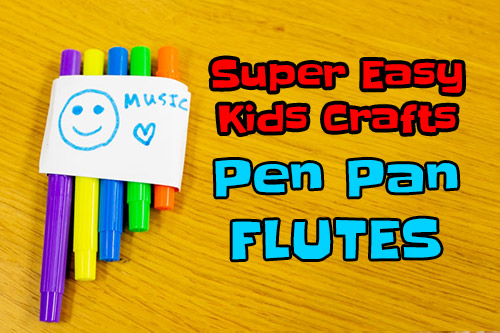
Making these super easy pen pan flutes is perfect for any lesson about music or instruments. Best of all, they’re part of our 10-minute ESL/EFL craft for kids, which means that they’re super cheap, super easy, and super fun to make. Teaching students about music is far more exciting when they can make their own, real instruments.
When you make these pen pan flutes with your students, you’re not just making an instrument. You’re teaching students about the relationship between the length of the tubes and the pitch (sound) they make. The faces on your students will light up as soon as they hear the magical notes from an instrument made from markers!
The other great thing about these instruments is that they are made from a set of color markers. That means you can find a good use for all those markers after the ink runs out, or you can buy them new. We found a pack at the local 100 yen shop (the dollar store) with 30 different colors. This is especially useful for EFL/ESL English lessons because it allows students practice colors as they learn about musical concepts in English.
Easy Pen Pan Flutes – Supplies List
How to Make Easy Pen Pan Flutes
These craft pen pan flutes might just be the world’s coolest and easiest musical instruments.
Step 1: Prepare the tubes from the pens (markers)
The pens (markers) should be a tube with an end cap, the tip, and the ink inside. Use pliers to remove the ends and ink. (It’s easiest if you prepare them before the lesson to avoid making a mess.)
Step 2: Mark and cut the tubes
Mark the tubes at different lengths and cut them. Shorter tubes have a higher pitch and are easier to play for most kids. After you cut the tubes, put the cap on the end that was cut. It’s possible that the edge of the cut plastic could be sharp and injure a child’s lips. For that reason, put the cap on the cut end for a safer instrument.
Step 3: Arrange the tubes and caps on tape or paper with double-sided tape
You can either put double-sided tape on a heavy card stock and arrange the tubes on it, or you can simply use duct tape. We prefer to use the paper method because it gives children a chance to write their names or decorate the pen pan flutes. Don’t forget to color and decorate your new instruments.
Now that you made a Pen Pan Flute instrument,
it’s time to blow!!
After your students make these super easy Pen Pan Flutes, you can just sit back and listen to the magical sounds and songs they come up with. We also recommend a good set of earplugs!
Need more great ideas for fun and easy classroom crafts?
Check out all these cool activities and crafts that are not only quick and easy to make, but also super fun for students.
Greetings Clock (Good morning, afternoon, evening, night) – Free Craft Template
Use this cute and fun "Good Morning!" Spinning Clock ...
5 Battle Eggs EFL/ESL Card Game Variations
Try these 5 Battle Eggs EFL/ESL Card Game variations ...
5 Free Custom Photo Snow Globe Templates
Make an original snow globe with these 5 Free ...
7 Free Interactive Christmas Games for Online Lessons
7 Free Interactive Christmas Games and Activities for Teaching ...
Free Christmas Present Shooting Game (10-Minute Craft)
Make a Plastic PET Bottle Present Blaster in less ...
Free Ghost Blaster Shooting Game (10-Minute Halloween Craft)
Are you ready to make a plastic PET Bottle ...
World’s Easiest Chocolate Mug Cup Cakes (microwave recipe)
The World's Easiest Chocolate Mug Cup Cakes will turn ...
Pen Pan Flutes – Musical Instrument Kids Crafts
Make These Super Easy Pen ...
ESL/EFL Origami Craft – Paku Paku Fortune Tellers
ESL/EFL Origami Crafts are a ...
Easy 3D Reindeer Christmas Card Craft – (Free Instructions)
This cute and simple 3D Reindeer Christmas Card Craft ...
Light-up Ghosts | Super Easy Halloween Kids Crafts
These light-up ghosts make super ...
Quick and Easy Volcano Experiment with Tape (10-Minute Classroom Crafts)
Make a Quick and Easy ...
How to play “Spell Chomp Spell” Game with ABC Chompers
Learn how to play SPELL CHOMP SPELL! A ...
Super Easy Marshmallow Cereal Shape Snacks Recipe & Lesson Plan
Delicious Fun in Your Next English Class with Our ...
No-Mess, No-Carve Jack-O’-Lantern Halloween Craft
Are you looking for a fun, cheap and easy ...
DIY Light Ghost Halloween Decorations
Need some fun, easy, and cheap Halloween decorations for ...
Colors, Shapes, and Animals – Super Cute Crafts for Kids
Practice shapes, colors, and animals with these super-cute ESL/EFL ...
DIY Paper Craft Animal Hats (Bunny, Frog, Monkey, Dinosaur)
Make these cute and fun DIY paper craft animal ...
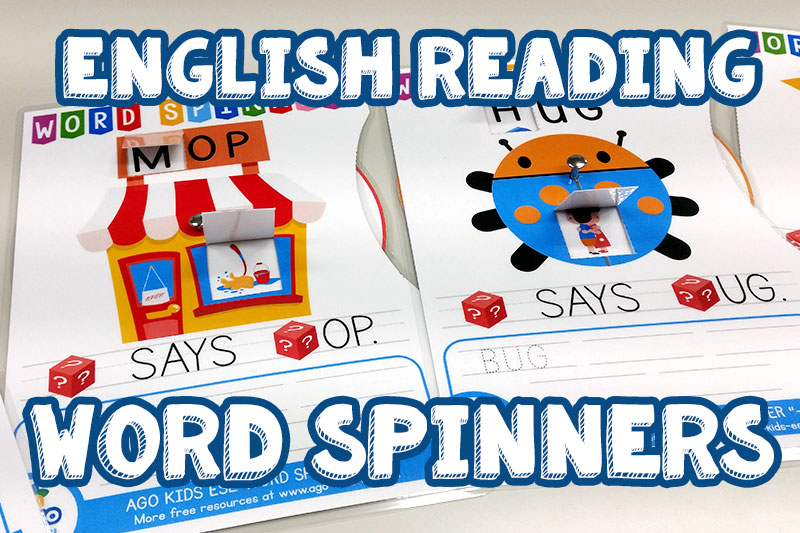
10-Minute ESL Crafts: English Reading Word Spinners for Phonics Practice
Forget Fidget Spinners! English Reading Word Spinners are the ...
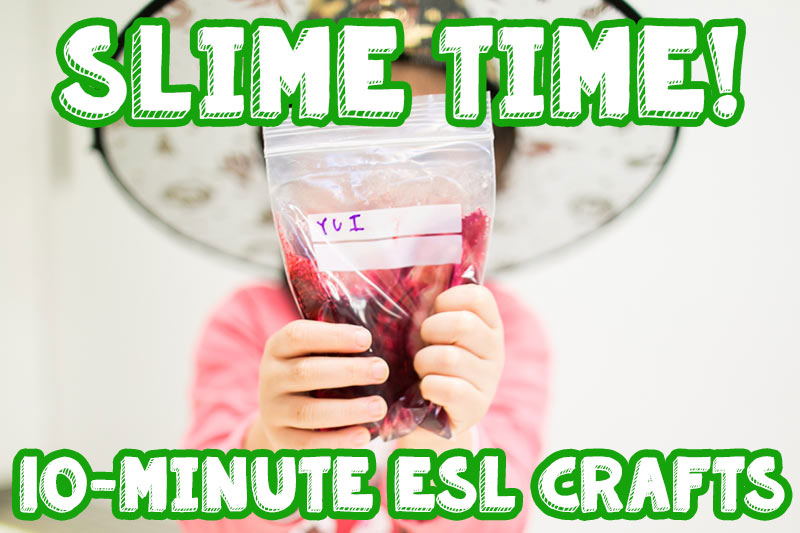
“Slime In A Bag” | Super Easy, No-Mess Instructions – 10 Minute ESL Crafts for English Class
Students will love making this super easy, no-mess "Slime ...
Erupting Volcano! – 10 Minute ESL Class Crafts
Make an erupting volcano in 10 minutes for your ...
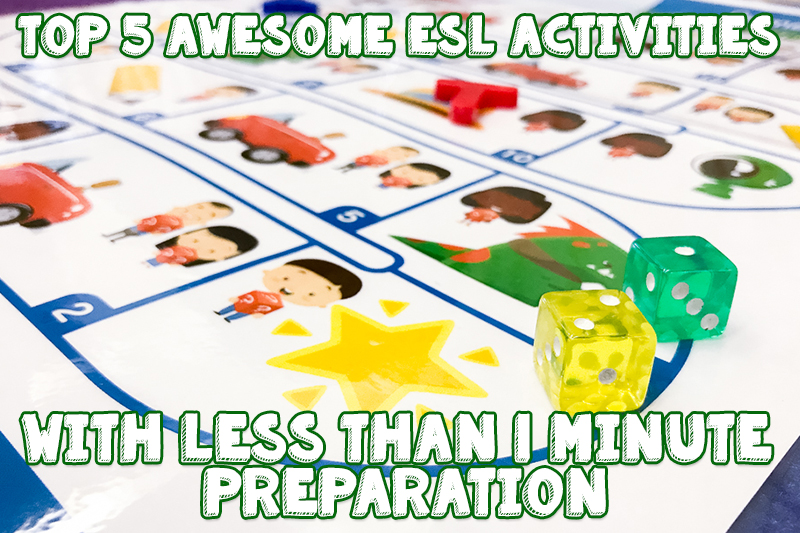
Top 5 Awesome ESL Activities With Less Than 1 Minute Preparation
Learn Our Favorite Effective Classroom Activities Which Need No ...
ESL Cookie Recipe and Worksheet
Learn English While Making This One-Of-A-Kind ESL Cookie Recipe ...
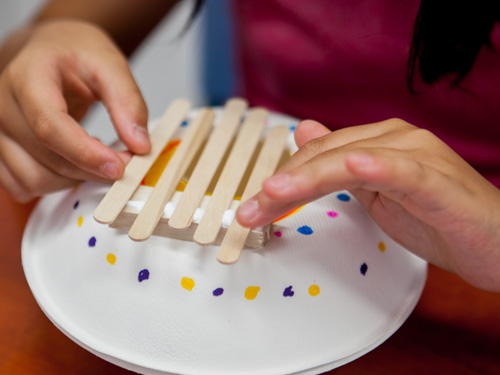
DIY Craft Kalimba – Homemade Instruments for Kids
How to Make a Simple DIY Craft Kalimba for ...


